MERCEDES 280SL PARTS
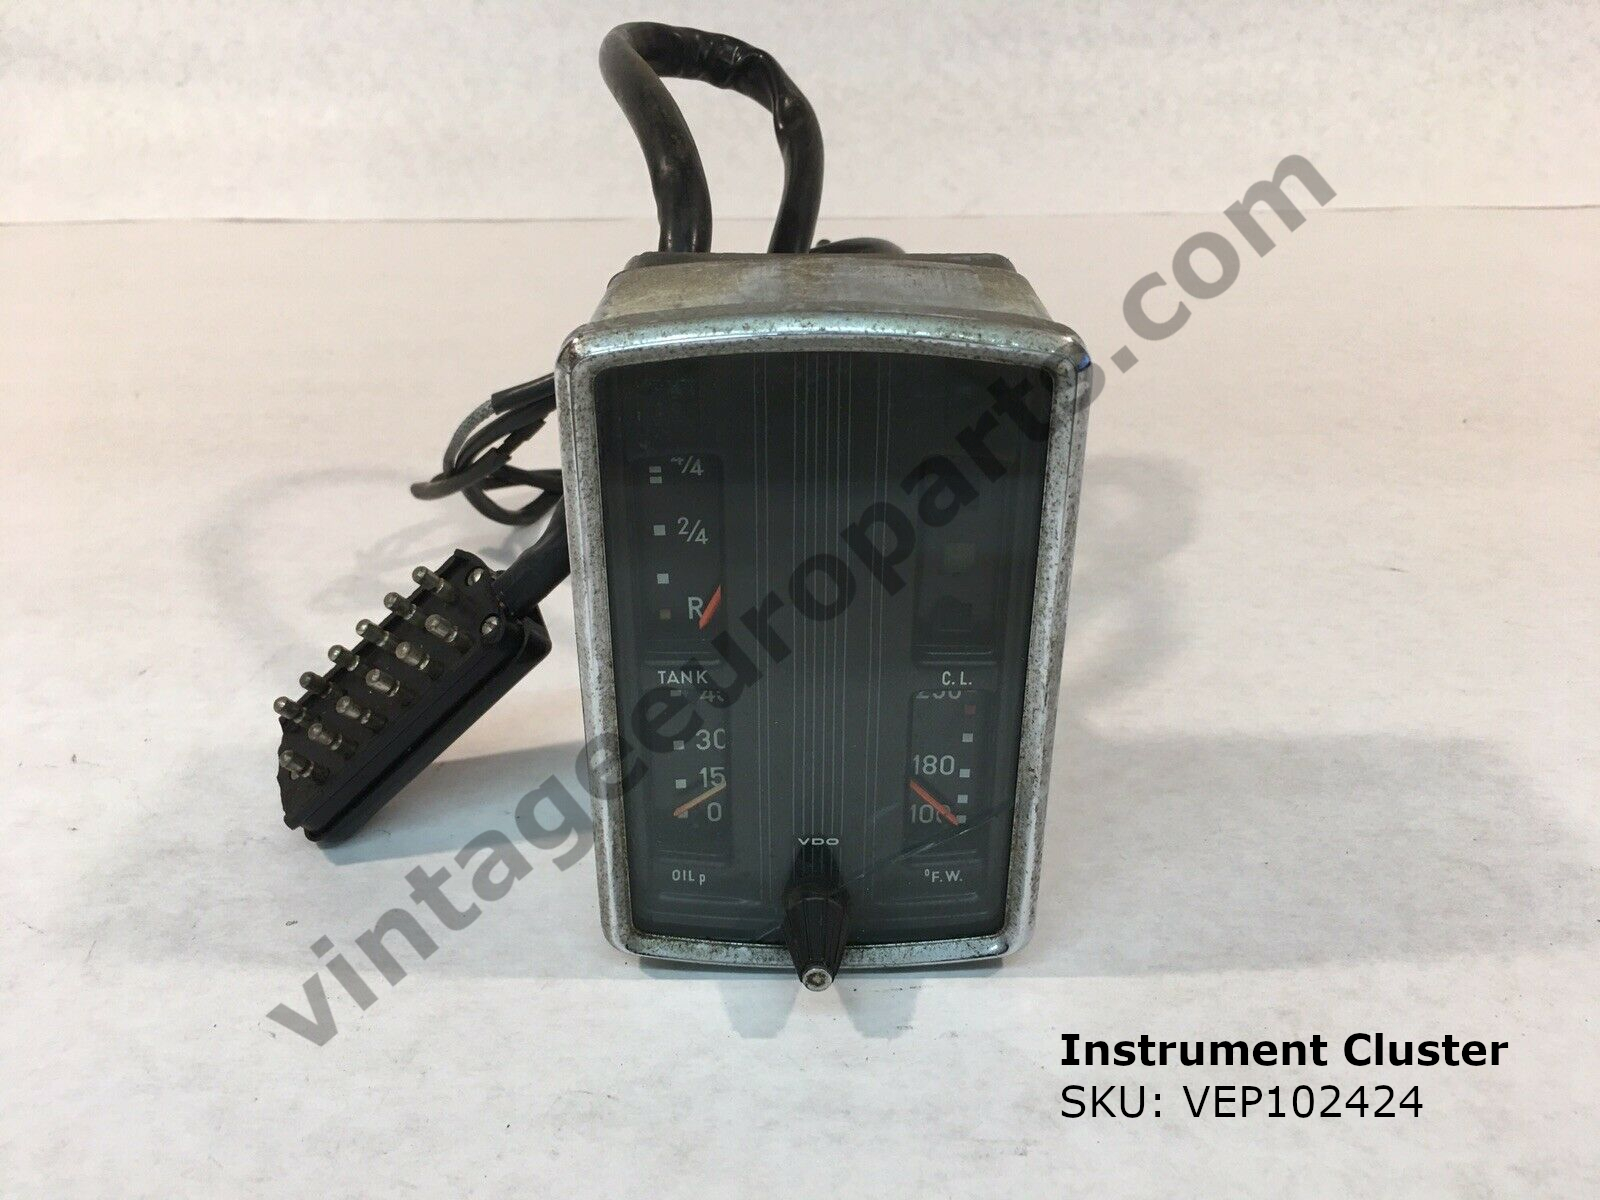
Step by Step Instructions to Install a an Instrument Cluster (1135420301) for a Mercedes 280SL

As with other Mercedes 280SL parts, installing an instrument cluster (1135420301), especially a classic model from the 1960s or 1970s, is a task that combines the delicacy of dealing with vintage parts with the precision needed for modern mechanical work. This guide will walk you through the entire process, from preparation to final testing, ensuring your new instrument cluster (1135420301) is installed correctly and functions as expected.
Tools and Materials Needed
- New or refurbished instrument cluster (1135420301)
- Screwdrivers (Phillips and flathead)
- Socket wrench set – Pliers
- Electrical tape – Wire strippers
- Multimeter
- Torx driver set
- Service manual for Mercedes 280 SL parts
- Replacement bulbs (if needed)
- Gloves and safety glasses
Step 1: Preparation
- Disconnect the Battery: To prevent any electrical shorts or accidental shocks, disconnect the negative terminal of the battery. This is crucial when working with the car’s electrical components.
- Consult the Service Manual about all Mercedes 280SL parts: The service manual for the Mercedes 280 SL will provide specific instructions and diagrams that are invaluable for this job. Familiarize yourself with the instrument cluster (1135420301) section.
Step 2: Remove the Old Instrument Cluster
- Access the Instrument Cluster (1135420301): Start by removing any trim pieces or panels that obstruct access to the instrument cluster. This typically involves the dashboard trim, which may be held in place by screws or clips.
- Disconnect Electrical Connectors: Carefully disconnect the electrical connectors from the back of the instrument cluster (1135420301). These connectors are usually color-coded, but it’s a good idea to label them with tape to ensure correct reinstallation.
- Remove Mounting Screws: Using the appropriate screwdriver or socket wrench, remove the screws or bolts securing the instrument cluster to the dashboard.
- Extract the Instrument Cluster (1135420301): Gently pull the instrument cluster out of the dashboard. Be mindful of any remaining connections or clips that might still be attached.
Step 3: Prepare the New Instrument Cluster
- Inspect the New Cluster (1135420301): Check the new or refurbished instrument cluster for any damage. Ensure all components, such as gauges and lights, are intact and functional.
- Transfer Components (if necessary): If the new cluster does not include certain components like bulbs or specific connectors, transfer these from the old cluster. Replace any bulbs that appear worn or are not functioning.
Step 4: Install the New Instrument Cluster
- Connect Electrical Connectors: Reconnect the electrical connectors to the new instrument cluster. Ensure each connector is securely attached and matches the corresponding port.
- Secure the Cluster: Place the new instrument cluster (1135420301) into the dashboard and secure it with the screws or bolts you previously removed. Ensure it is firmly in place but avoid over-tightening the screws, which can damage the cluster or dashboard.
Step 5: Test the Installation (applies to all Mercedes 280SL parts)
- Reconnect the Battery: Reconnect the negative terminal of the battery.
- Turn on the Ignition: Turn the ignition to the accessory position and check that all gauges and lights on the new instrument cluster are functioning correctly.
- Test Drive: Take the car for a short test drive to ensure all readings (speedometer, fuel gauge, temperature gauge, etc.) are accurate and there are no warning lights.
Step 6: Final Adjustments
- Adjust Connections: If any gauges or lights are not functioning correctly, double-check the connections. Ensure all connectors are properly seated and there are no loose wires.
- Replace Panels and Trim: Once you are satisfied with the installation and functionality of the new instrument cluster (1135420301), replace any panels or trim pieces you removed. This step is important for all Mercedes 280SL parts when they are being replaced/installed.
Additional Tips
- When installing Mercedes 280SL parts, be sure to work in a Well-Lit Area: Proper lighting will help you see small components and connections more clearly.
- Use the Right Tools: Using the correct tools will prevent damage to screws and delicate components.
- Be Patient: Rushing through the process can lead to mistakes. Take your time to ensure each step is completed correctly.
- Consult Online Forums: If you encounter any issues, online forums and communities dedicated to classic Mercedes cars can be valuable resources for troubleshooting advice.
Troubleshooting Common Issues
- Non-Functional Gauges: If a gauge is not working, check the corresponding connector and ensure it is properly attached. Use a multimeter to test for continuity.
- Dim or Non-Functional Lights: Replace any faulty bulbs. If the issue persists, check the wiring for any breaks or shorts.
- Incorrect Readings: Verify that the instrument cluster (1135420301) is correctly calibrated. Some clusters may require manual adjustment or calibration after installation.
Conclusion
Installing Mercedes 280SL parts can be super easy depending on the part. Installing an instrument cluster in a Mercedes 280 SL though requires a blend of mechanical aptitude and attention to detail. By following this guide and taking your time, you can successfully replace the instrument cluster and ensure it operates correctly, maintaining the classic charm and functionality of your vehicle. Remember, consulting the service manual and taking advantage of community resources can provide additional insights and assistance throughout the process.

